Get to know meI aspire to create stand out guitars that embody crafstmanship and style. I've been practicing guitar for a little over a decade! My love for building these guitars goes back to when I built things with my grandpa as a kid. |
Get to know meI aspire to create stand out guitars that embody crafstmanship and style. I've been practicing guitar for a little over a decade! My love for building these guitars goes back to when I built things with my grandpa as a kid. |
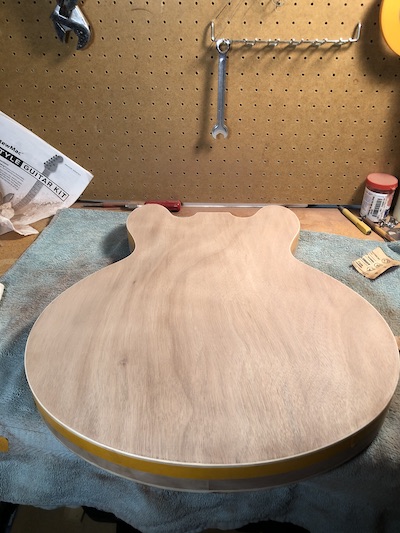
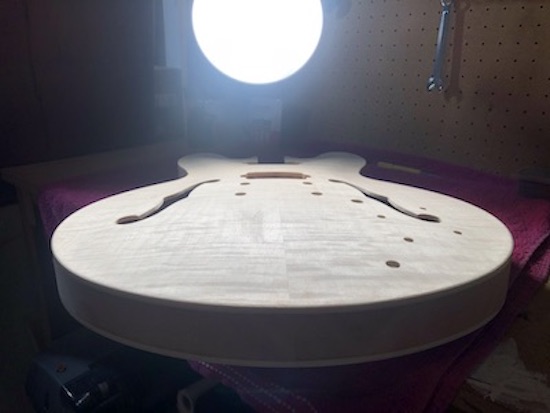
1 - Prep for Paint |
In my three projects I have only used mahogany, alder. maple, and flame maple 3 ply laminate. Each of these woods has a different grain patterns so they will need more or less coats of grain filler. Once I have applied and sanded the body to 220 grit sandpaper the last step is to use a wet cloth to raise the grain allowing one more pass of 220 sandpaper. |
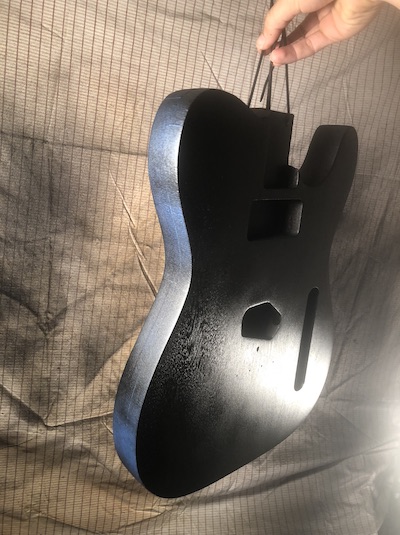
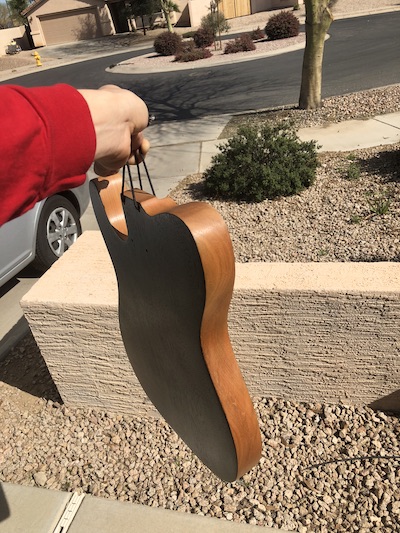
2 - Paint/stain |
Once the body and neck are sanded appropriatly, I then tape off the areas necessary, so far I have only focused on single colors. I am in the middle of my first project using stain and Ive been told to apply a pre-stain conditioner which will allow the stain coat to go on fairly even. Once the stains are down and dried, I will apply a nitrocellulous laquer. Finally hitting the gutar with a polishing solution. |
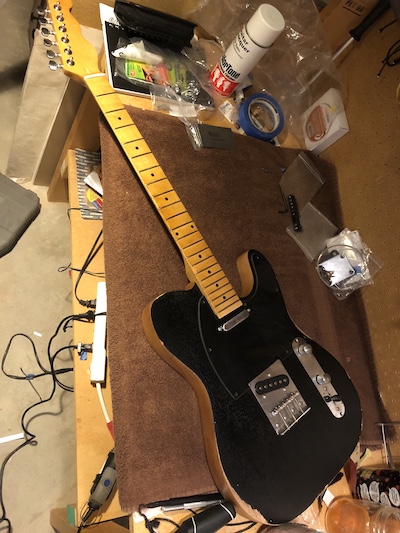
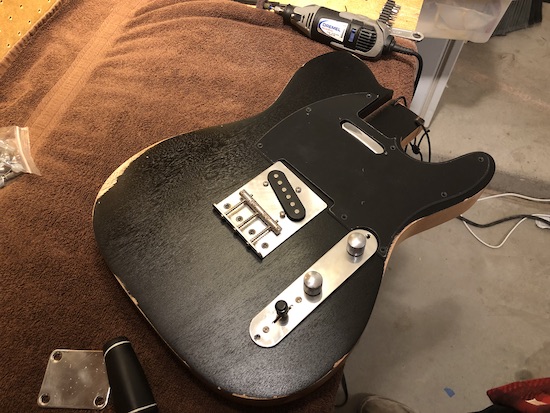
3 - Assembly |
After all the finishes have cured. The firts step is to attach the neck, followed by insulating the cavities to reduce the buzz and feedback. If the wiring system isnt too complex, fitting and setting up the pickups can be fairly easy (just be careful of the soldering iron). The last two steps are attaching hardware and settng up the strings. |